The Concrete Caulking Process
Grinding, backer-rod, polyurethane bead, cure. The 4-step concrete caulking process for Metro Detroit driveways and parking lots.
You know how frustrating it is to watch a perfectly good concrete driveway slowly sink and crack.
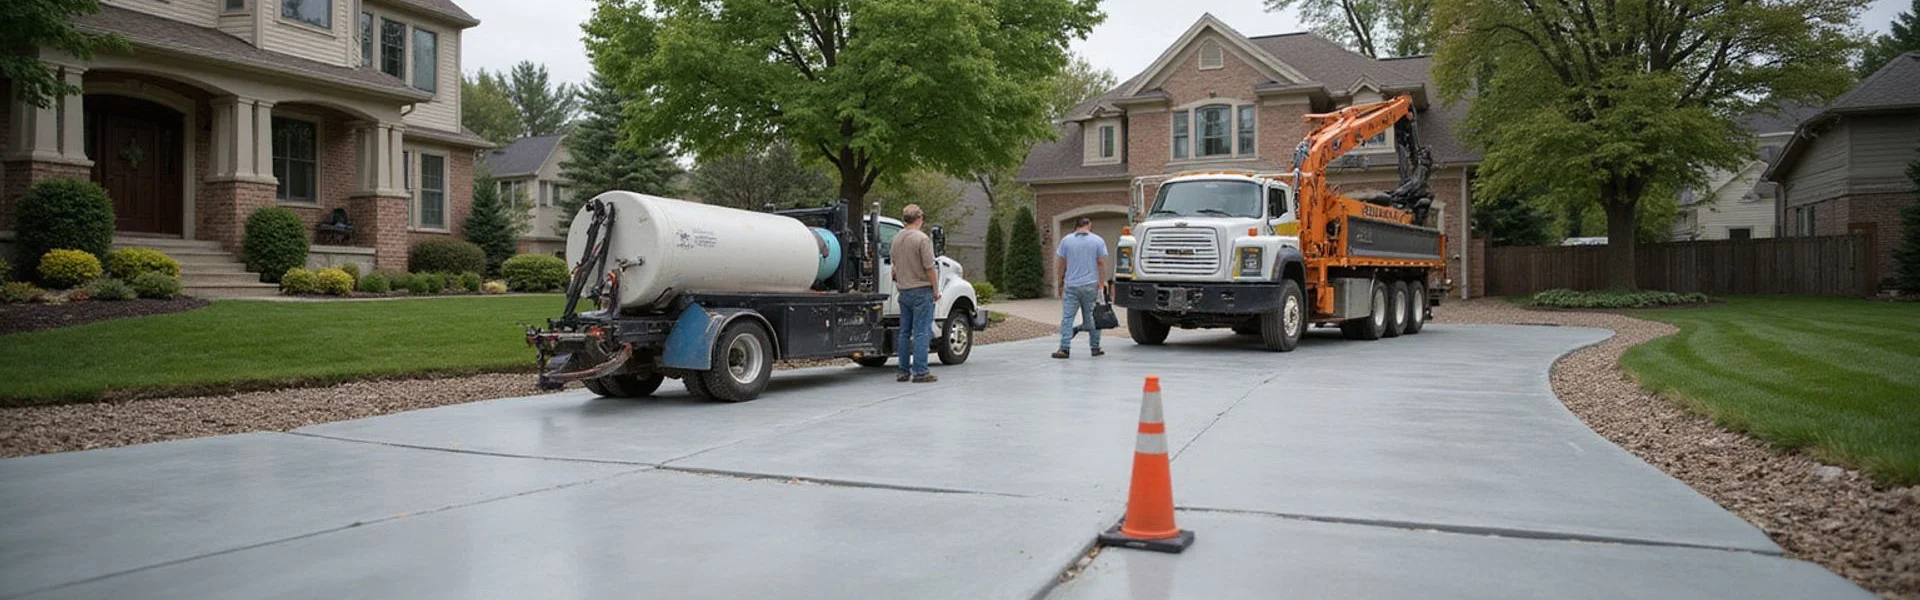
Concrete Leveling Detroit provides superior concrete restoration and leveling solutions for residential and commercial clients across the US. We see failed caulking jobs every single week.
The professional concrete caulking process requires a very precise application to survive harsh seasonal temperature swings. Our team uses a specific method to prevent water from washing out the sub-base. Let’s look at the data and walk through the exact joint sealing steps.

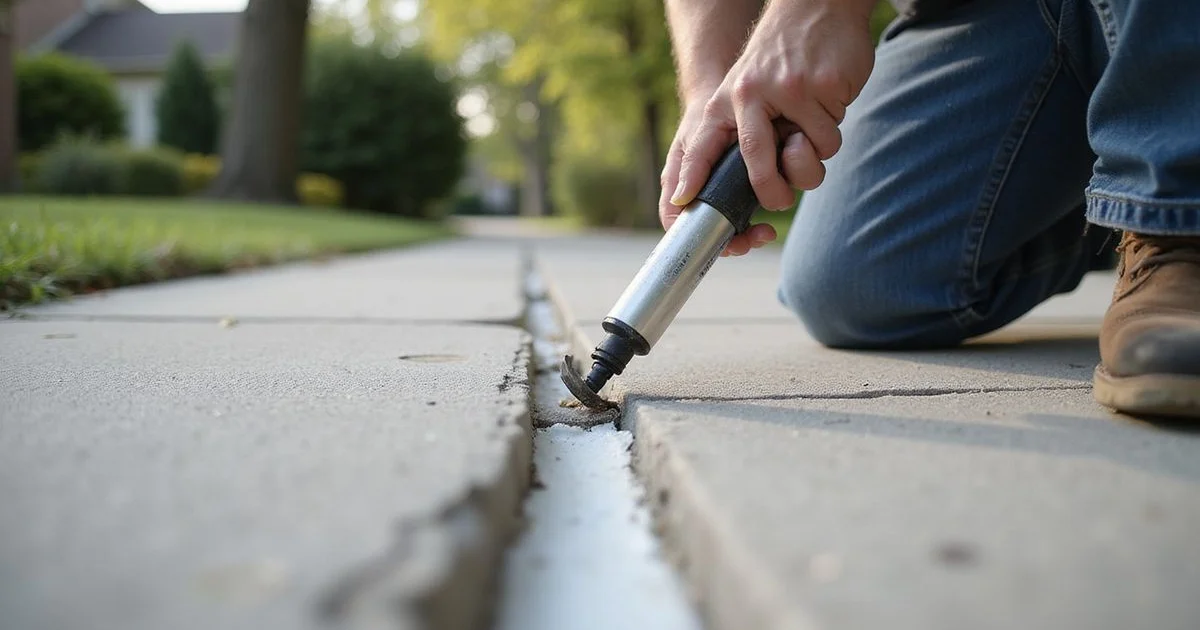
Step 1: Grinding old material out
We begin the concrete caulking process by mechanically grinding out the old sealant to prepare the joint walls. This action exposes fresh concrete and guarantees the new material bonds perfectly. Skipping this step is the number one reason DIY and cheap professional caulking jobs fail.
New sealant simply will not bond to old sealant residue. Our crews use a seven-inch angle grinder fitted with a segmented diamond blade. This specific tool cuts through stubborn debris easily.
- Seven-inch angle grinder for deep reach.
- Segmented diamond blade to cut tough residue.
- Attached HEPA dust extractor.
We connect these grinders directly to industrial HEPA dust extractors. This setup safely captures dangerous silica dust before it blows across your patio or yard.
Step 2: Backer-rod placement
We install a sized backer rod into the empty joint to control the depth of the new sealant. The optimal bead-to-depth ratio is roughly two to one, meaning it is twice as wide as it is deep. This specific shape allows for proper flex.
Our installers know that without the backer rod, the bead becomes too thick to move with the slab. A standard rule of thumb in the US requires a backer rod diameter that is 25 to 30 percent larger than the joint width. This extra size ensures the material compresses snugly into the gap, and choosing the right rod material is just as important as the sizing.
| Material Type | Moisture Resistance | Best Application |
|---|---|---|
| Closed-Cell Polyethylene | High | Exterior driveways and patios |
| Open-Cell Foam | Low | Interior joints only |
We rely exclusively on closed-cell polyethylene foam for outdoor residential jobs. Open-cell foam absorbs water and will destroy the seal from underneath during a winter freeze.
Step 3: Polyurethane bead application
Our application method uses commercial-grade polyurethane sealant dispensed in a continuous bead. The technician then tools it smooth so it sits flush with the slab surface. We use polyurethane for residential and most commercial work because of its incredible flexibility.
Polyurea is reserved strictly for heavy commercial settings and warehouse control joints. Commercial sealants like Sikaflex-2c SL or Tremco THC-900 handle horizontal expansion joints beautifully.
- Superior elasticity for wide temperature swings.
- Strong chemical resistance against vehicle fluids.
- Self-leveling properties for a perfectly flat finish.
- Exceptional adhesion to ground concrete surfaces.
Our team ensures every single gap is completely filled during this stage. The chemical makeup of polyurethane creates a watertight barrier that lasts for years.
Step 4: Cure time
We strongly recommend keeping foot traffic off the fresh joints for four to six hours. Vehicle traffic must wait a full 24 hours while the material sets. Temperature and humidity dictate exactly how fast the chemical curing process happens.
Our ideal curing environment features 70 to 75 degrees Fahrenheit and around 50 percent relative humidity. The surface forms an initial skin and becomes tack-free in roughly two hours under these conditions.
| Traffic Type | Minimum Wait Time | Full Chemical Cure |
|---|---|---|
| Foot Traffic | 4 to 6 hours | 3 to 5 days |
| Vehicle Traffic | 24 hours | 3 to 5 days |
We always monitor the local forecast before starting a job. Colder temperatures will slow this chemical reaction down dramatically, but the driveway is safe for standard use after the first day.
What homeowners need to do
You need to do almost nothing, other than move your cars out of the garage. We handle the entire preparation and application process. Please ensure vehicles are parked on the street before the crew arrives.
Our technicians will tape off the joint area completely to keep foot traffic clear during the cure.
There are a few small details that help the process run smoothly:
- Keep pets inside so they do not step in the wet polyurethane.
- Leave sprinkler systems off for the first night.
- Avoid sweeping grass clippings onto the fresh joints.
We will remove all the safety tape once the surface is fully trafficable. This ensures your property stays clean and protected.
Standard finish
Our standard finish provides a charcoal or gray polyurethane bead. This color blends right into the natural look of an aged driveway or patio. Darker gray pigments naturally hide dirt and tire marks better than lighter shades.
We can color-match to your specific driveway tone on request for a small additional charge. The UV-resistant properties in the commercial sealants ensure the color will remain stable over time.
A properly color-matched joint seal not only protects your concrete but significantly boosts the curb appeal of your entire home.
Our goal is to leave you with a permanent, visually appealing repair. Understanding how concrete caulking works ensures you get the most value out of this investment.
For more, see why joint sealing prevents freeze-thaw damage and our joint sealing service.
We are ready to protect your concrete from the next harsh winter. Request a free estimate today to schedule your evaluation.
Common Questions
Quick answers from our Metro Detroit crew.
How long does cure take?
Will the bead match my driveway?
More from this topic
How Often Should Concrete Joints Be Resealed?
Typical 5-10 year reseal cycle. Factors that shorten it (climate, traffic), inspection checklist, and signs it's time. Free assessments.
Why Joint Sealing Prevents Freeze-Thaw Damage
Freeze-thaw cycle physics, water infiltration, capillary action — and how flexible polyurethane joint sealant stops the damage cycle.
Have a slab to lift? Let's take a look.
Free, no-obligation on-site estimate. If we can't fix it, you don't pay.